Selling one-time purchase products with Paddle
12th February 2021 | 12 minutes
Have you ever wanted to sell something online? Maybe you've built a cool product. Perhaps you're the leading expert on patting alpacas, and you want to sell your cool book containing your secret technique for the world to see.
These days you have many options. Artisanal crafts are popular on Etsy! You can sell digital products on Gumroad. I heard some people actually still use Ebay to sell their used stuff. But for the sake of this article, let's assume you don't want to hand over your business to some platform. You want a custom website, where the only thing standing between you and your customer is the payment provider. So let's talk about why you might want to use Paddle!
Why Paddle?
Paddle is a platform that acts as a so-called Merchant Of Record. This is a very fancy
legal term for saying, that Paddle handles everything related to payments for you. They
process your customers payments, they handle the tax obligation and in the end they send
whatever money you've earned to your bank account.
If you're conducting your business from the European Union, this is a very nice thing to have. The reason is that handling your own taxes in the EU is for all intents and purposes a mess. You can read a detailed guide if you have some time to spare.
The short summary is: For all digital services you sell within the EU you have to track which country your customer comes from, apply one of 27 different tax rates, or maybe no tax rate at all, track evidence of where your user came from and then file all of this with your country's financial authority, again split up by country. Super fun. If you want to go do that Miguel Piedrafita wrote a great guide on implementing VAT with Stripe for Laravel. This at least takes care of the technical side of things.
For lazy people like me, Paddle handles all this. You end up receiving a single payout every month. Since I despise dealing with bureaucracy, that seems like an awesome deal to me.
Setting up Paddle
To get started with Paddle, you'll need to setup an account with them. To do that, visit their sign up page and fill out their getting started form. They should get back to you fairly quickly.
Once you have a Paddle account we'll need two things: Your vendor ID and a product ID.
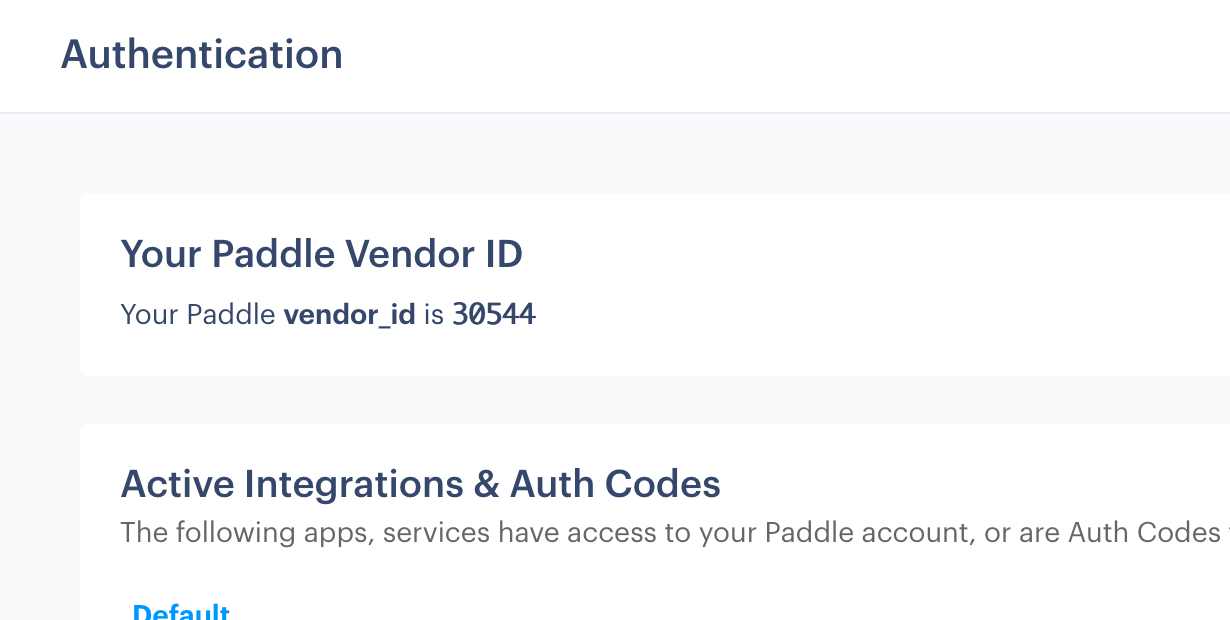
To get your vendor ID, visit the Authentication page under Developer Tools. You'll
find it at the very top.
Next we'll have to create a product. You can find this under Catalog > Products.
You can either create the actual product you intend to sell, or just a dummy product
for now.
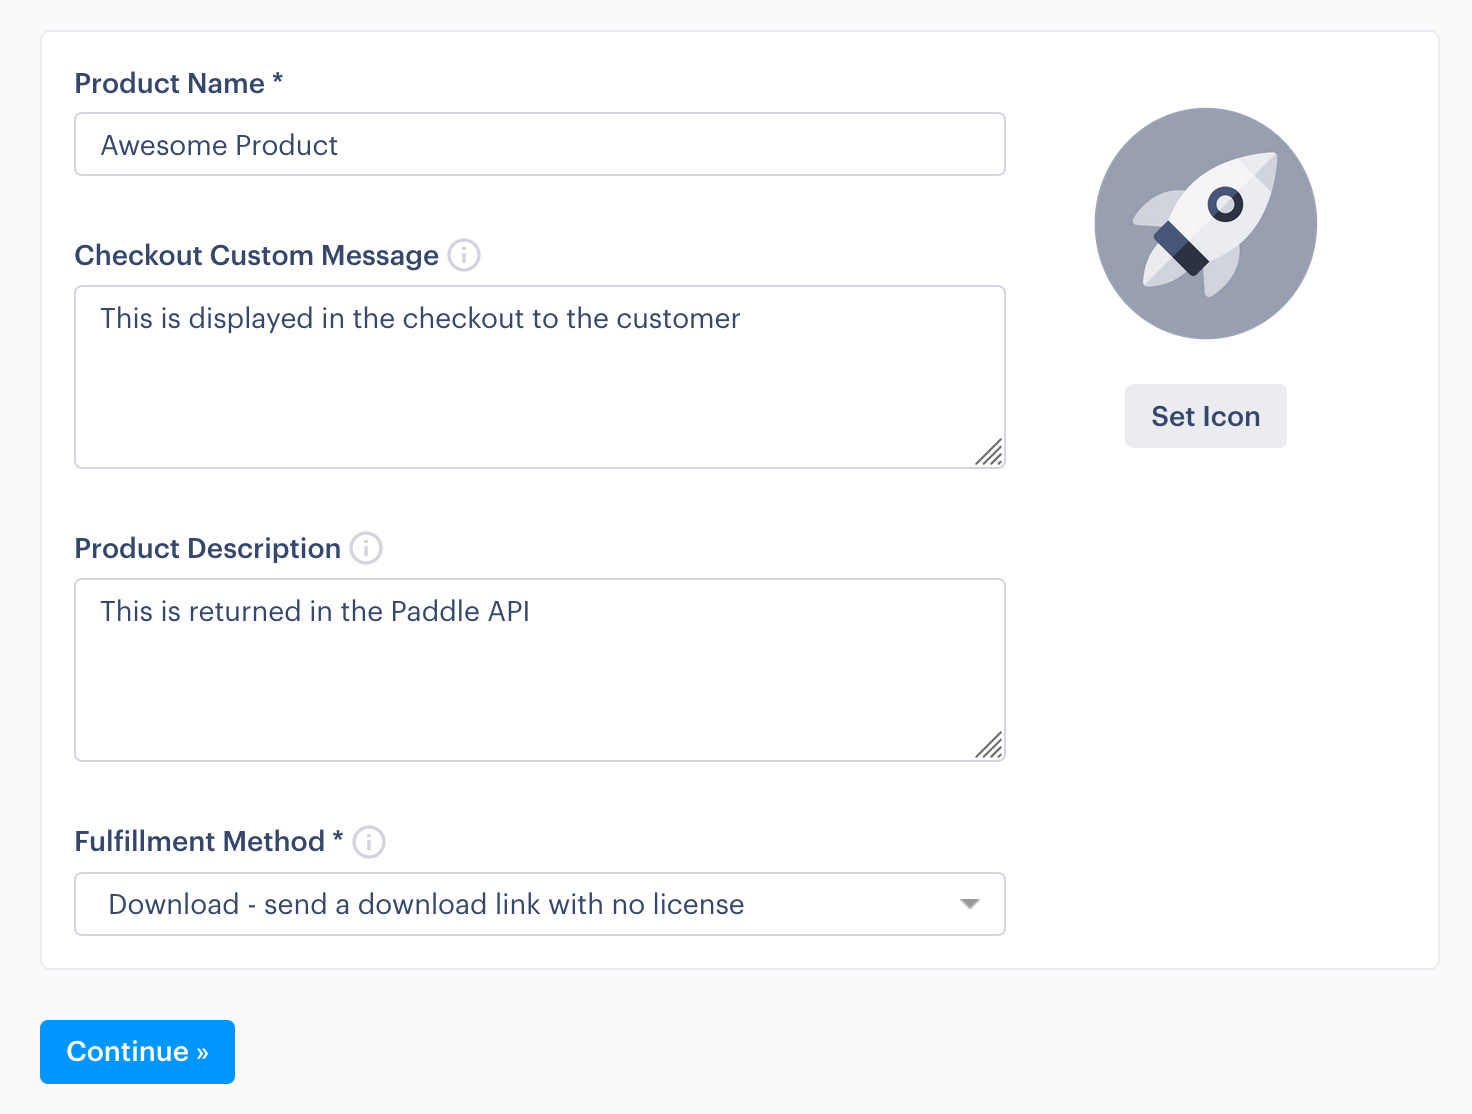
For now you can select the "Download" fulfillment option. This will send a download link for your product to the customer once they have purchased it. This is also the option that is relevant if you want to generate custom licenses for your product. (More on that in a future post.)
After you have created a product, you should see it in your overview and be able to copy its ID.
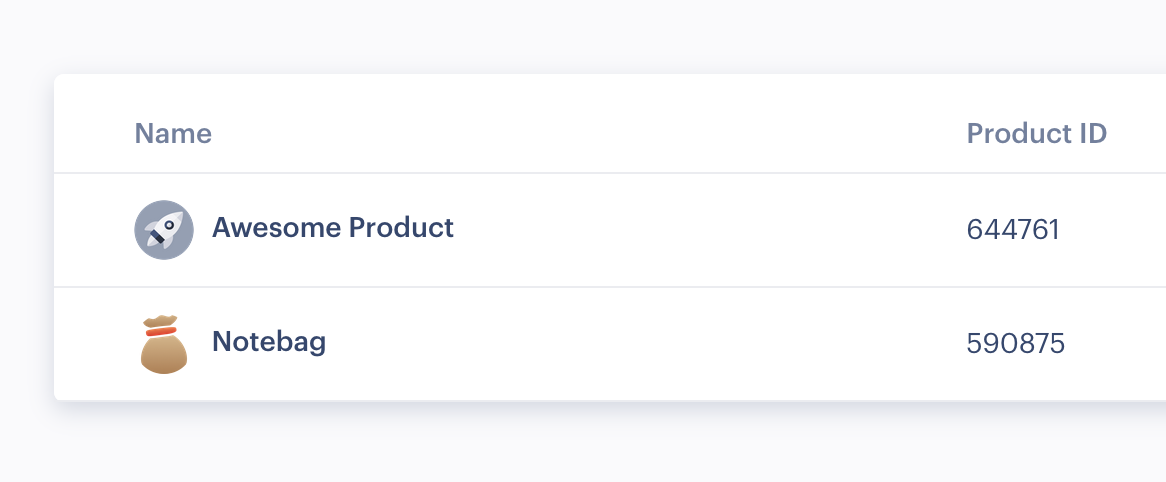
Once you have both your vendor ID and your product ID, we're ready to move on to the technical parts.
Setting up the project
(This part is optional if you already have a website prepared.)
As with many other projects on my blog, I'll base it on the little boilerplate project that I made. It gives us a common starting ground, as explained in the article. Let's clone it from GitHub:
$ git clone git@github.com:pretzelhands/base.git
And install any dependencies that are pre-delivered.
$ composer install
You will also want to create a file called .env in the project root
It can remain empty for now.
As we'll be dealing with visual things this time, I'll also pull in Tailwind. Opinions about it are divided, but I am not good at design and Tailwind is my magic stick to make things look .. okay.
First, let's create a new assets/ directory in the public/ directory.
Then to set up Tailwind, we can use the npx tool pre-delivered with npm.
$ npx tailwindcss-cli build -O public/assets/style.css                                                                                                                                                                           1 changed file  main

   tailwindcss 2.0.3

   🚀 Building from default CSS... (No input file provided)

   ✅ Finished in 2.24 s
   📦 Size: 3.74MB
   💾 Saved to public/assets/style.css
This will put all available Tailwind styles into public/assets/style.css.
As you can see that file is 3.74MB, that's huge! We'll leave it for now, but
at the end I'll show you how to reduce this down to a few kilobytes.
Next we'll need to setup some kind of checkout page. For this I'll make a new
PHP file in public/ called checkout.php. In it I'll set up an HTML skeleton
and include our stylesheet.
<!doctype html>
<html lang="en">
<head>
    <meta charset="UTF-8">
    <meta name="viewport" content="width=device-width, user-scalable=no, initial-scale=1.0, maximum-scale=1.0, minimum-scale=1.0">
    <meta http-equiv="X-UA-Compatible" content="ie=edge">

    <link rel="stylesheet" href="/assets/style.css">

    <title>Paddle Integration</title>
</head>
<body>

<!-- Our checkout goes here -->

</body>
</html>
Note that the path to the stylesheet is relative to public/ because that is
the directory we serve on our server. Now let's get the server up and running!
The repository we are building from already includes a script for that.
$ composer run dev
This will start a web server on localhost:8080 and you the included expose tool
will get you a publicly shareable link. When you open it, you should see a page
displaying nothing but a pretzel. If you visit checkout.php you should see an
empty screen.
Our checkout screen
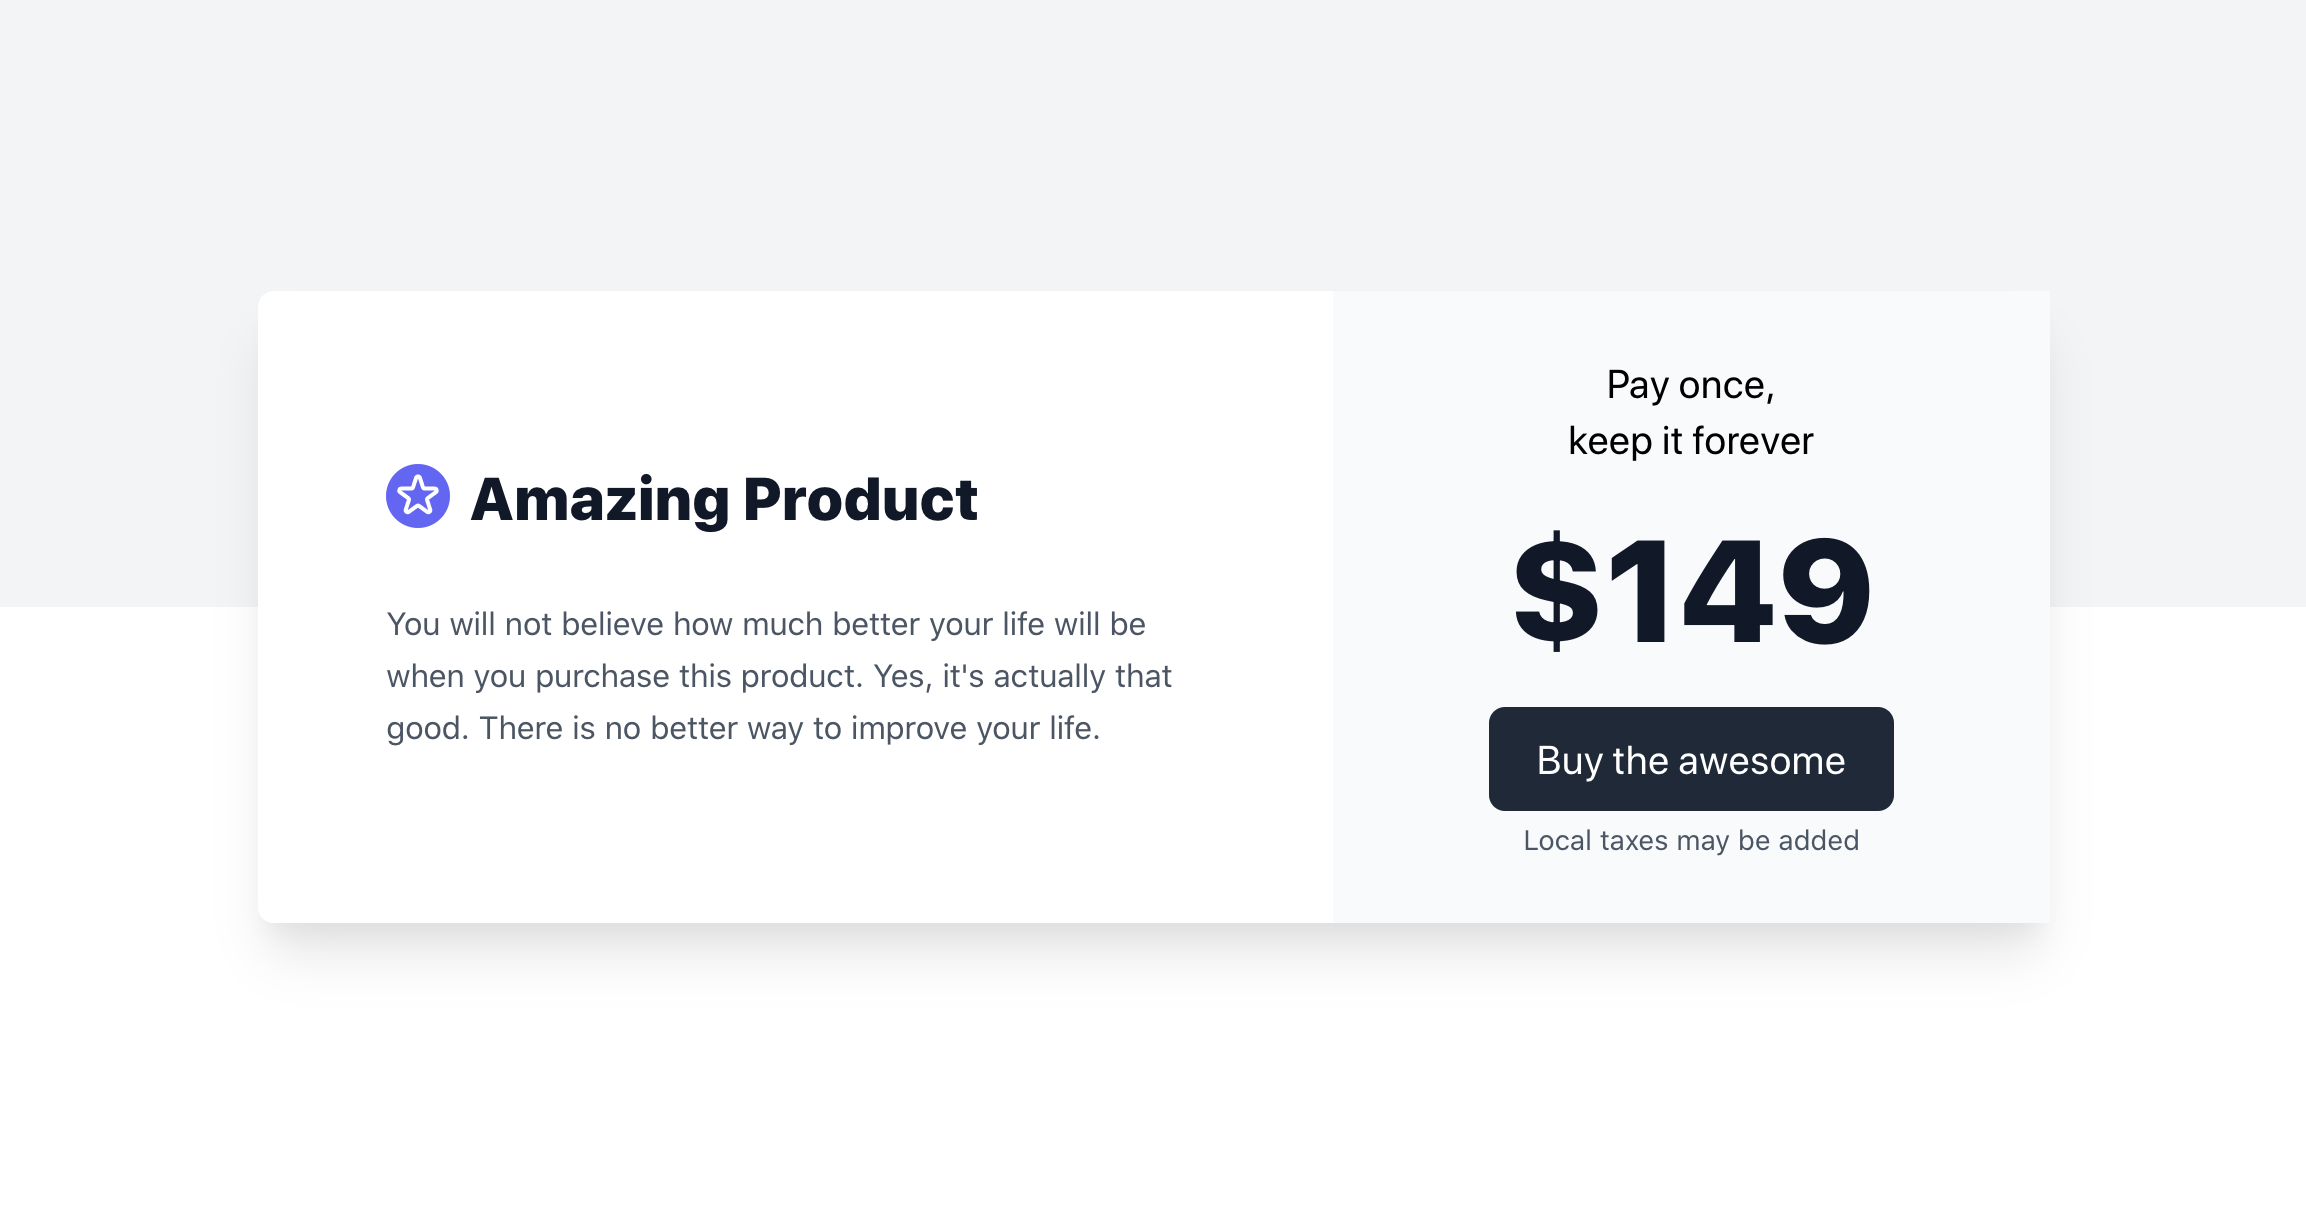
For the purposes of this tutorial I pre-built a checkout screen you can copy for following along. Again, I am just a code monkey wielding a magic Tailwind stick, so it doesn't look like the most amazing thing ever. But it works for our purposes.
<!-- public/checkout.php -->

<body class="min-h-screen flex justify-center items-center">
<div class="w-full h-1/2 absolute top-0 bg-gray-100"></div>

<div class="relative z-10 flex w-full max-w-4xl bg-white shadow-xl rounded-lg">
    <div class="w-3/5 p-16 space-y-8 flex flex-col justify-center">
        <h1 class="font-black text-3xl text-gray-900">
            <svg class="inline-block text-white rounded-full bg-indigo-500 -mt-2 mr-1 p-1 w-8 h-8" xmlns="http://www.w3.org/2000/svg" fill="none" viewBox="0 0 24 24" stroke="currentColor">
                <path stroke-linecap="round" stroke-linejoin="round" stroke-width="2" d="M11.049 2.927c.3-.921 1.603-.921 1.902 0l1.519 4.674a1 1 0 00.95.69h4.915c.969 0 1.371 1.24.588 1.81l-3.976 2.888a1 1 0 00-.363 1.118l1.518 4.674c.3.922-.755 1.688-1.538 1.118l-3.976-2.888a1 1 0 00-1.176 0l-3.976 2.888c-.783.57-1.838-.197-1.538-1.118l1.518-4.674a1 1 0 00-.363-1.118l-3.976-2.888c-.784-.57-.38-1.81.588-1.81h4.914a1 1 0 00.951-.69l1.519-4.674z" />
            </svg>
            Amazing Product
        </h1>

        <p class="text-gray-600 leading-relaxed">
            You will not believe how much better your life will be when you purchase this product.
            Yes, it's actually that good. There is no better way to improve your life.
        </p>
    </div>


    <div class="flex flex-col flex-grow justify-center items-center space-y-6 p-8 bg-gray-50">
        <p class="text-xl text-center">Pay once,<br>keep it forever</p>
        <p class="text-7xl text-gray-900 font-black">$149</p>

        <div class="text-center space-y-1">
            <button id="js-checkout-button" class="px-6 py-3 bg-gray-800 hover:bg-gray-900 text-xl text-white rounded-lg">
                Buy the awesome
            </button>

            <p class="text-gray-600 text-sm">Local taxes may be added</p>
        </div>
    </div>
</div>
</body>
Open up localhost:8080/checkout.php (or your expose URL) and you should see
the checkout screen. Here's an idea of what it should look like.
Now after all this setup we can finally integrate Paddle and make our product purchasable. This is the exciting part of the article!
Integrating the Paddle checkout
By default, Paddle works as a small overlay that activates itself when you click on a trigger (say, a button). To integrate it, first we need the Paddle.js script which we load directly from them!
Add the following just before your closing body tag.
<script src="https://cdn.paddle.com/paddle/paddle.js"></script>
Now we're ready to start interacting with Paddle. We're just two small steps away from handling purchases!
Our next step is to initialize Paddle. To do so we need the vendor ID we copied
earlier. Then we add another <script> tag in which we call Paddle.Setup like so:
<script src="https://cdn.paddle.com/paddle/paddle.js"></script>
<script>
    Paddle.Setup({ vendor: 30544 })
</script>
You can also do this in a separate JavaScript file, to keep things clean.
With this Paddle is now ready to handle our checkout. It doesn't assume anything about our setup, so we have to let Paddle know when it's time to jump into action In our case that would be once the user clicks our "Buy the awesome" button.
To do this we can use vanilla JavaScript to attach an event listener. That looks like this:
<script src="https://cdn.paddle.com/paddle/paddle.js"></script>
<script>
    Paddle.Setup({ vendor: 30544 })

    document.querySelector('#js-checkout-button').addEventListener('click', () => {
        Paddle.Checkout.open({ product: 644761 })
    })
</script>
And believe it or not, that's all you technically need to do! Once you click your checkout button, you should see the little Paddle modal pop up and ask you to enter your purchase details.
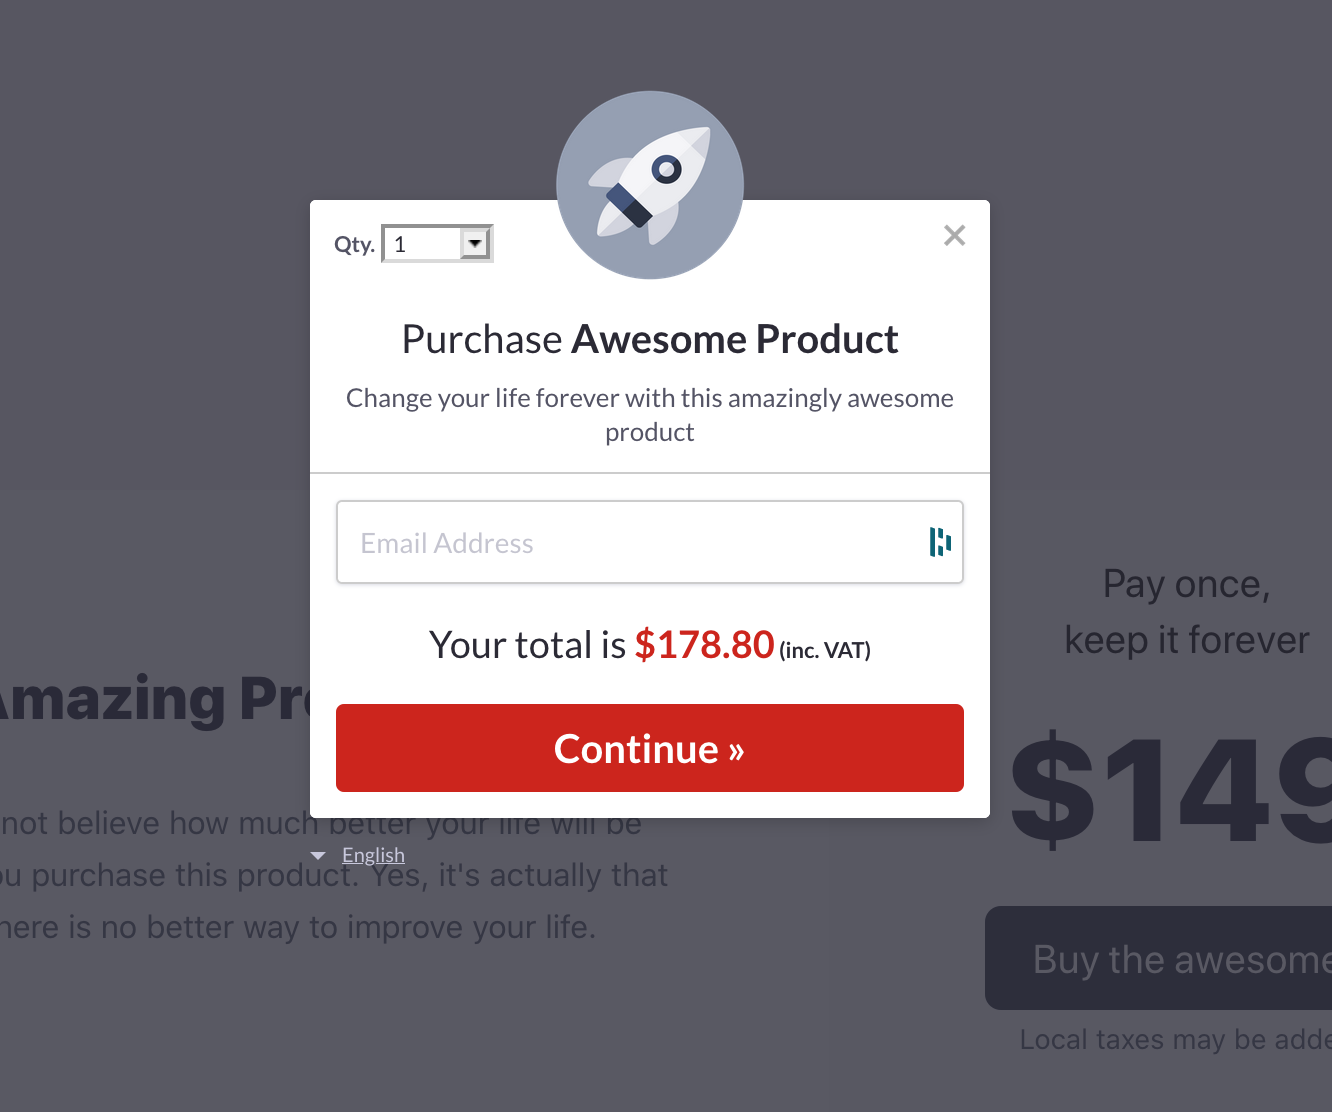
Paddle also automatically adds the appropriate amount of VAT and asks your customers for their VAT ID, should they have one. Neat! We could wrap up here and everybody would be super happy, right? Yeah, but let's look a bit deeper.
Paddle supports webhooks! These are mostly useful for subscriptions (which we'll cover in the future), but you can also do fun things with them for single purchases.
For example I built a Telegram bot that summarized my daily earnings from Notebag and let me know at the end of the day. Or you could build a little business dashboard for yourself. The possibilities are only limited by your creativity.
Interacting with webhooks
To get started with webhooks from Paddle we need to do two things: We need to set them
up in the vendor interface and we need to grab our public key. To activate webhooks
you can go to Developer Tools > Alerts/Webhooks.
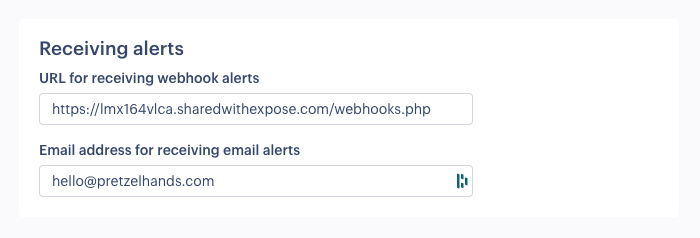
There you will be able to specify the URL to which your webhooks will be sent.
You can also set an email if you want to receive regular email notifications.
I will set the URL to the one that expose provided to me, and use a webhooks.php
endpoint.
Below those settings you can enable any webhooks you want. I would recommend leaving them unchecked until you go live with your integration. For testing things we will use the Webhook simulator at the top of the page.
Once you have set your webhook URL, you should grab your public key from
Developer Tools > Public Key and put it in the .env file. I called it
PADDLE_PUBLIC_KEY.
# .env

PADDLE_PUBLIC_KEY="-----BEGIN PUBLIC KEY-----
MIICIthisisapublickeythisisapublickeythisisapublickeythisisapubl
ickeythisisapublickeythisisapublickeythisisapublickeythisisapubl
ickeythisisapublickeythisisapublickeythisisapublickeythisisapubl
ickeythisisapublickeythisisapublickeythisisapublickeythisisapubl
ickeythisisapublickeythisisapublickeythisisapublickeythisisapubl
ickeythisisapublickeythisicanyouseemethisisapublickeythisisapubl
ickeythisisapublickeythisisapublickeythisisapublickeythisisapubl
ickeythisisapublickeythisisapublickeythisisapublickeythisisapubl
ickeythisisapublickeythisisapublickeythisisapublickeythisisapubl
ickeythisisapublickeythisisapublickeythisisapublickeythisisapubl
ickeythisisapublickeythisisapublickeythisisapublickeythisisapubl
ickeythisisapublickeythisisapubl
-----END PUBLIC KEY-----"
.env files support multiline strings, so you can just paste in the block as it is
Anyone who has dealt with public-key cryptography probably knows where this is going.
For those who aren't familiar: We will use this key to verify that the messages that
are sent to our /webhooks.php endpoint are actually sent by Paddle. This is a good
thing™ to do.
Verifiying webhooks
Now that we have our public key, we can use it to verify HTTP requests arrived from
Paddle. Since this is a somewhat long-winded process, we'll extract it to a helper
function. So let's open up src/helpers.php and add a new function called
verifyPaddleWebhook.
// src/helpers.php

<?php

// ..snip..

function verifyPaddleWebhook(array $request) {
    $publicKey = env('PADDLE_PUBLIC_KEY');
    $signature = base64_decode($request['p_signature']);

    $fields = $request;
    unset ($fields['p_signature']);

    ksort($fields);

    $data = serialize($fields);

    return openssl_verify($data, $signature, $publicKey, OPENSSL_ALGO_SHA1);
}
Let's dissect that function bit by bit. First we grab our public key from our .env
file and decode the request signature that Paddle sent us. Next we copy all the
request values over to a new fields variable and remove the p_signature field,
as it is not included in the message we want to verify.
Then Paddle requires us to sort all array fields alphabetically by key. PHP once
again makes this easy enough to do with ksort(). Once we have the sorted array,
we serialize it into a string.
This string can then be verified using the openssl_verify function. For this we
need the string we want to verify, the signature, our public key and we use SHA-1
as algorithm. OpenSSL then does its magic and tells us whether the message was
encrypted by the private key that pairs up with our public key. So we return
that as result. And presto! We now have a boolean that indicates whether the request
comes from Paddle or no.
So let's make use of it in our webhooks.php endpoint!
// public/webhooks.php

<?php

require __DIR__ . '/../bootstrap.php';

if (!verifyPaddleWebhook($_POST)) {
    die();
}

if ($_POST['alert_name'] === 'payment_succeeded') {
    echo sprintf('🥨 %s just bought our thing!', $_POST['customer_name']);
}
To get everything sorted, we need to include the bootstrap.php file that sets up
our application. Then we pass in the $_POST superglobal to the verification function
we just wrote, since Paddle passes everything through that.
If the verification fails, we just end execution right there. We don't want to tell anybody trying to be smart if this worked or not. We just give them nothing.
After this, you have free rein of what to do. You can save the transaction in your database and build yourself a small dashboard. You can send yourself a notification in Telegram/Slack/etc. But before we do all that, we should test our implementation!
Testing our webhook with the simulator
To test our little webhook handler that could, switch back over to the Paddle
dashboard and open the Webhook Simulator under Developer Tools > Alerts / Webhooks > Webhook Simulator.
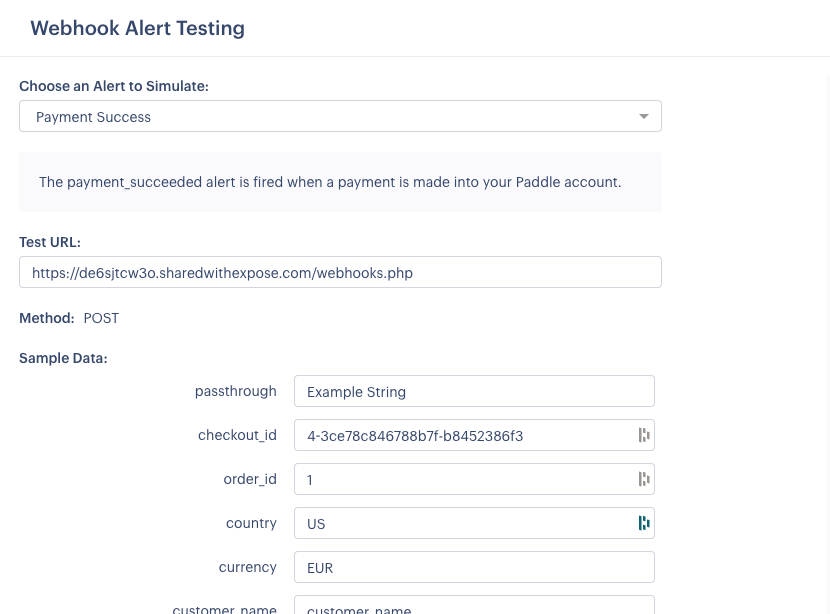
There you can choose what event to simulate. For now, let's go with "Payment Succeeded".
If you have configured your webhook URL earlier Paddle will fill it out for you already.
Otherwise enter the URL you received when you ran composer run dev and add /webhooks.php
at the end.
Paddle also generates a lot of dummy data that you can customize to your hearts content. Once you're ready, you can click the "Call Webhook" button at the bottom and see the fruits of your hard labour.
Congratulations on successfully integrating a Paddle Checkout onto your website!
Closing thoughts
As you can see the basic process of integrating Paddle for a single purchase product is not that complicated. From here on out you can use it to sell anything you like online!
In other posts in the future we will take a look at how to integrate subscriptions and how to generate our own license codes so we can make our own licensing system!